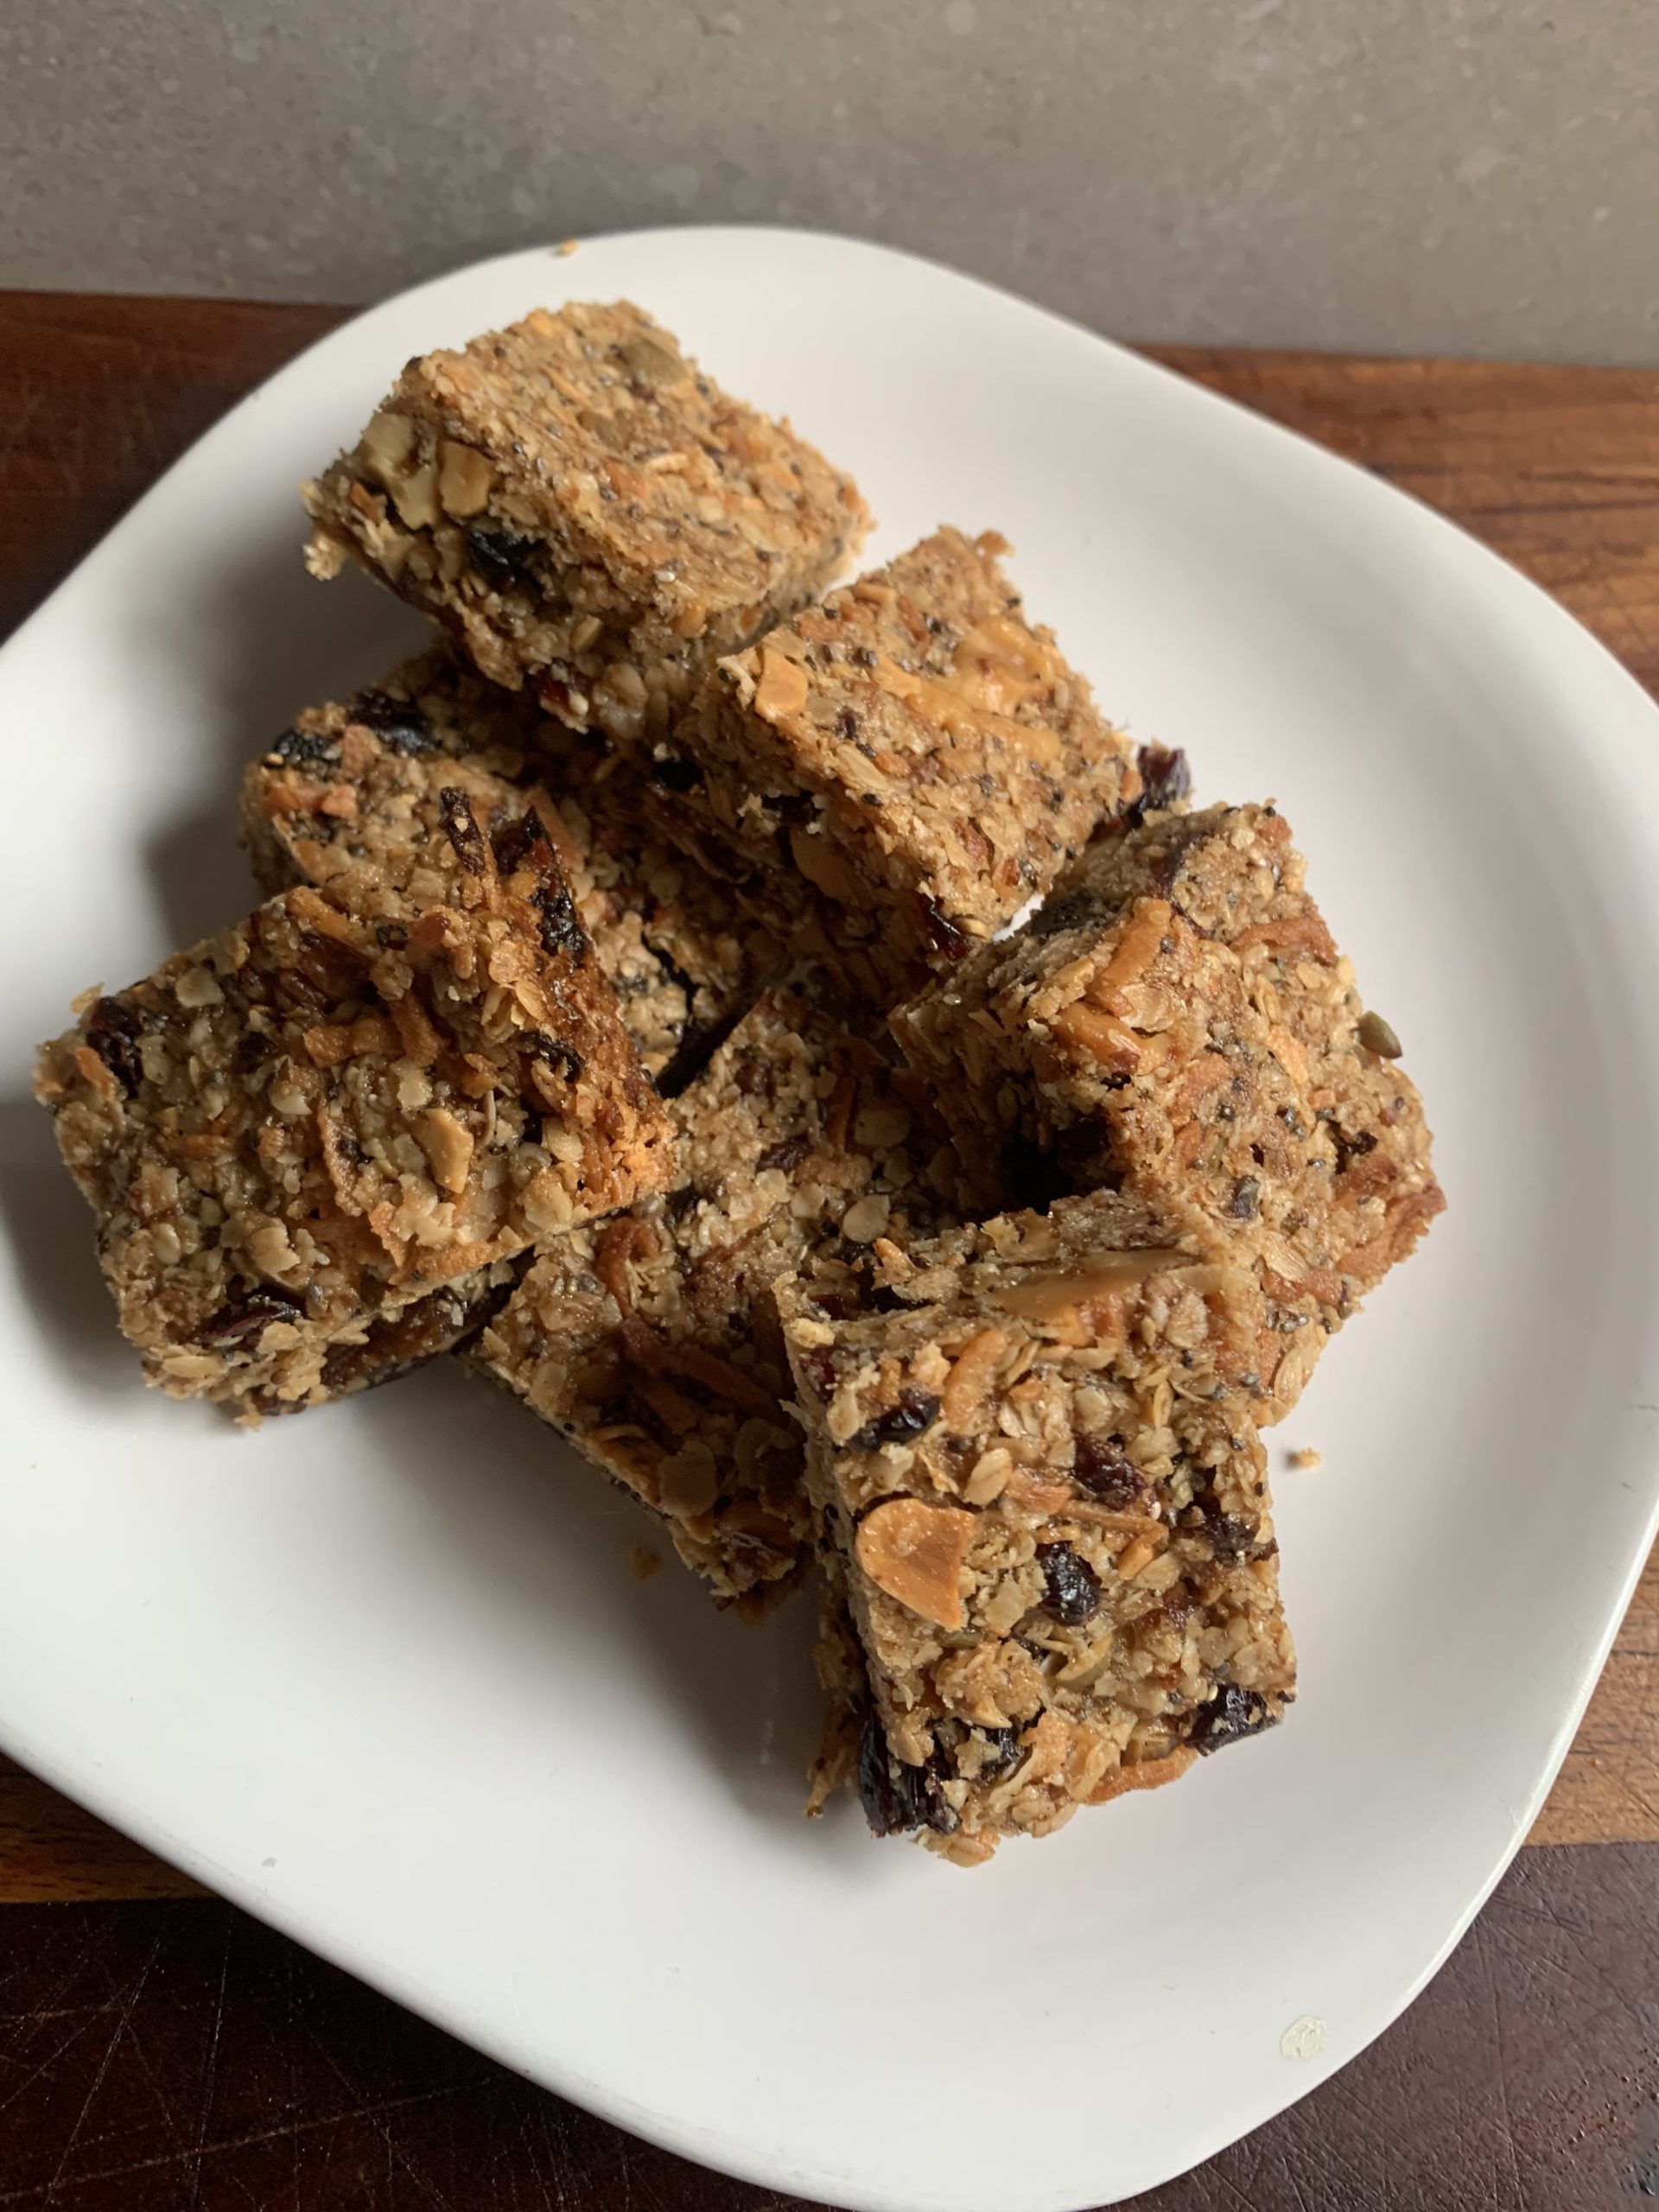
If your house runs anything like mine, muesli bars disappear almost as quickly as you buy them—everyone’s go-to for a quick snack or something to grab on the way out the door.
The problem? Most store-bought versions are either cloyingly sweet, filled with weird unpronounceable ingredients or cost far more than they should for what they are. And while buying nuts, seeds and dried fruit isn’t exactly cheap either, a homemade batch goes a lot further—and tastes like real food, not something engineered to sit on a shelf for months.
These are just sweet enough, held together with butter (I love butter, sorry but not sorry), and built from pantry staples you probably already have. You can dial the sweetness up or down, swap in whatever nuts or fruit you like, and make them your own without overthinking it. Making your own isn’t necessarily cheaper upfront, but you get more, they taste better, and you control what goes in.
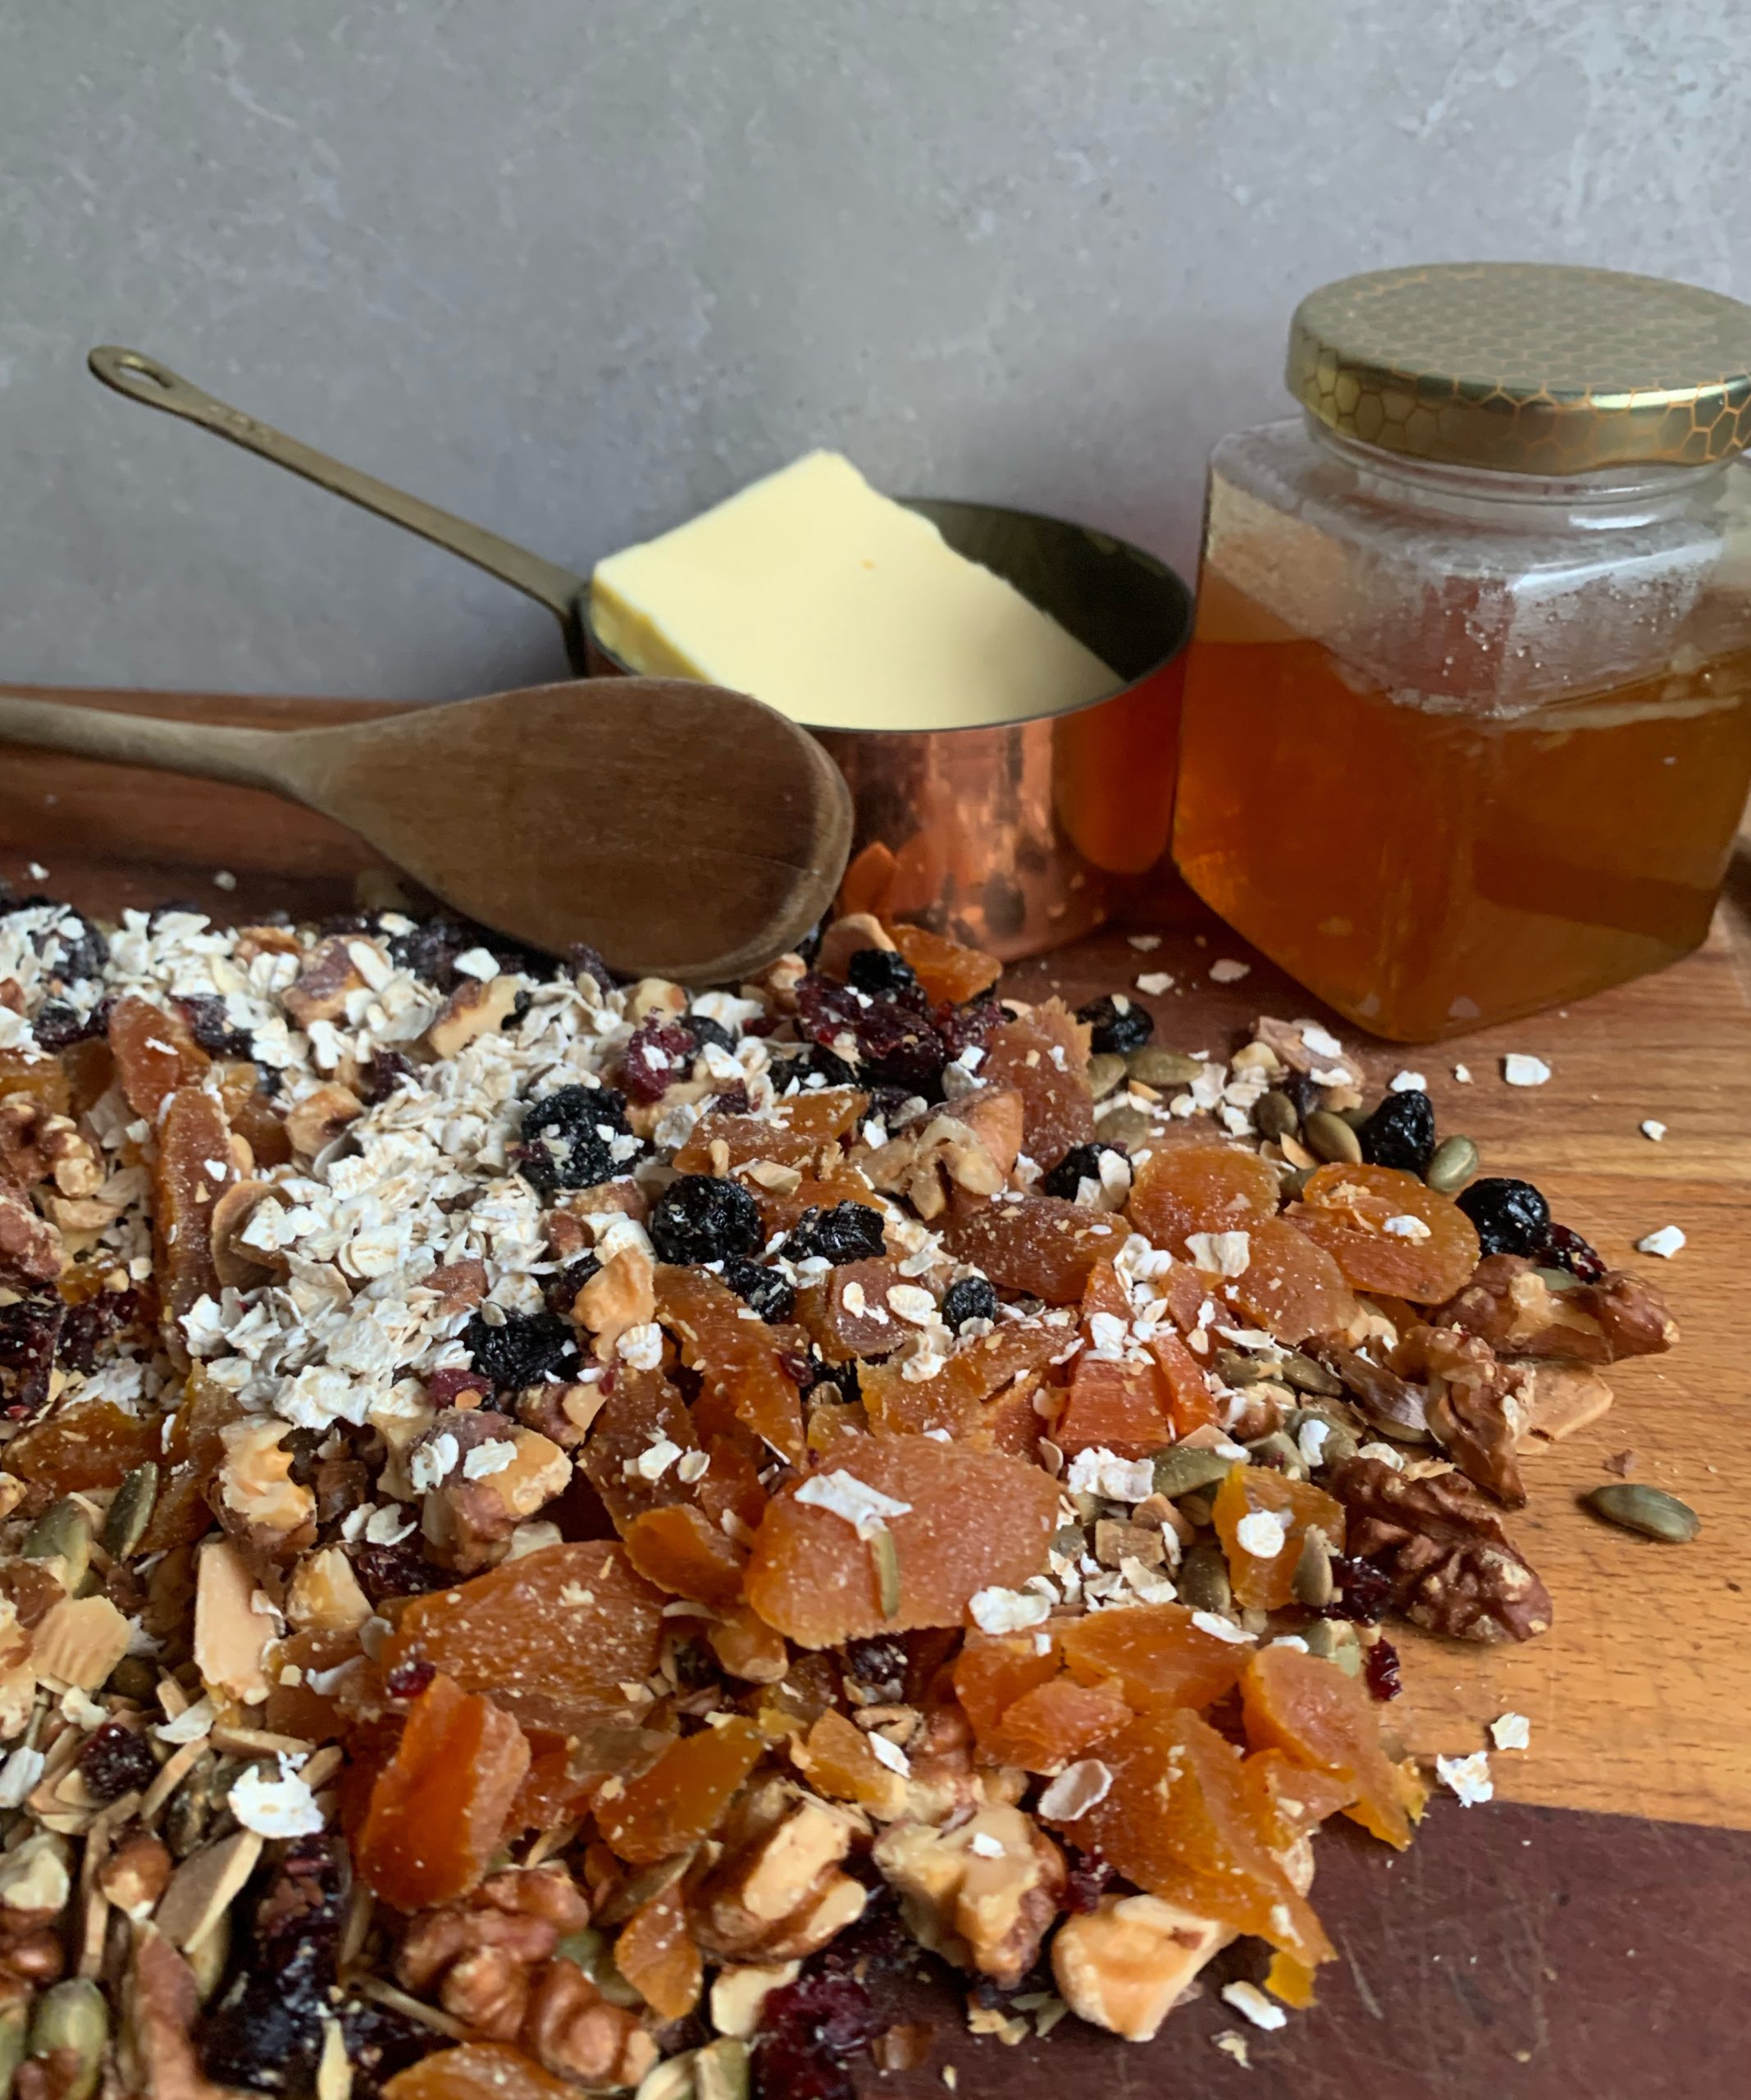
At the core, it’s simple: oats for structure, butter and sugar to bind, and everything else is whatever you fancy, have on hand or get rid of from your pantry. I’m fortunate enough to who have a friend who sells homemade honey and it kicks the flavour up a notch, but any store bought honey will hold up very well here.
Worth making?
- Yes – if you go through a lot of muesli bars
- Yes – if you want control over sweetness and what type of ingredients included – trying to find ‘nut’ free versions for school lunches could be an Olympic sport
- Yes – if you like them with a little salt to balance the sweetness
- Yes – if you are like me and gawk at the price of the pre-made bars and the higher the quality the more eye watering the price
- Skip – if you’re only making a one-off batch, it’s probably not worth stocking up on all the ingredients
- Skip – if you buy muesli bars purely for the convenience factor, these can’t compete
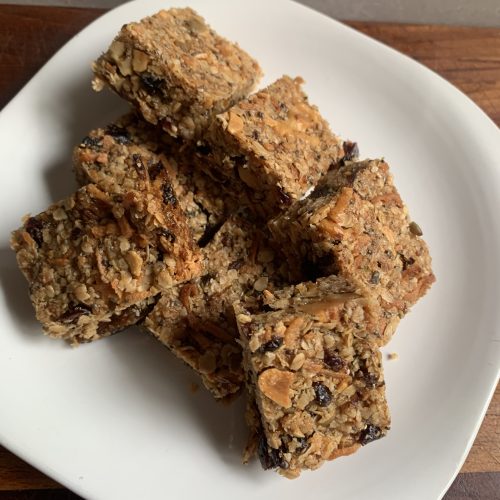
Homemade Muesli Bars
Ingredients
- 250 grams dried fruit, nuts and seeds I used a combination of dried blueberries, cranberries, apricots, walnuts, pepitas and chia seeds. Dried coconut is also good here.
- 150 grams rolled old fashioned oats
- 150 grams butter
- 80 grams brown sugar
- 10 grams honey
- 1/2 tsp sea salt
- 1 tsp cinnamon
Instructions
- Preheat oven to 160°C (fan-forced 140°C). Line a slice tin (approx. 20cm square) with baking paper, leaving overhang.
- In a saucepan over low heat, melt butter, brown sugar and honey, stirring until smooth and combined. Do not boil.
- Combine dry ingredients: In a large bowl, add rolled oats and the nuts/dried fruit mix. Stir to combine.
- Mix together: Pour the warm butter mixture over the dry ingredients. Stir thoroughly until everything is evenly coated.
- Press firmly into tin: Transfer mixture to the lined tin. Use the back of a spoon or a flat-bottomed glass to press down very firmly and evenly. (This step is key to stopping the bars from crumbling.)
- Bake for 20–25 minutes, or until lightly golden around the edges.
- Cool completely in tin before lifting out or trying to cut – they will fall apart if you cut them warm. For clean cuts, chill for 30–60 minutes before slicing.
- Slice into bars and store in an airtight container at room temperature for up to 5 days or 2 weeks in the refrigerator
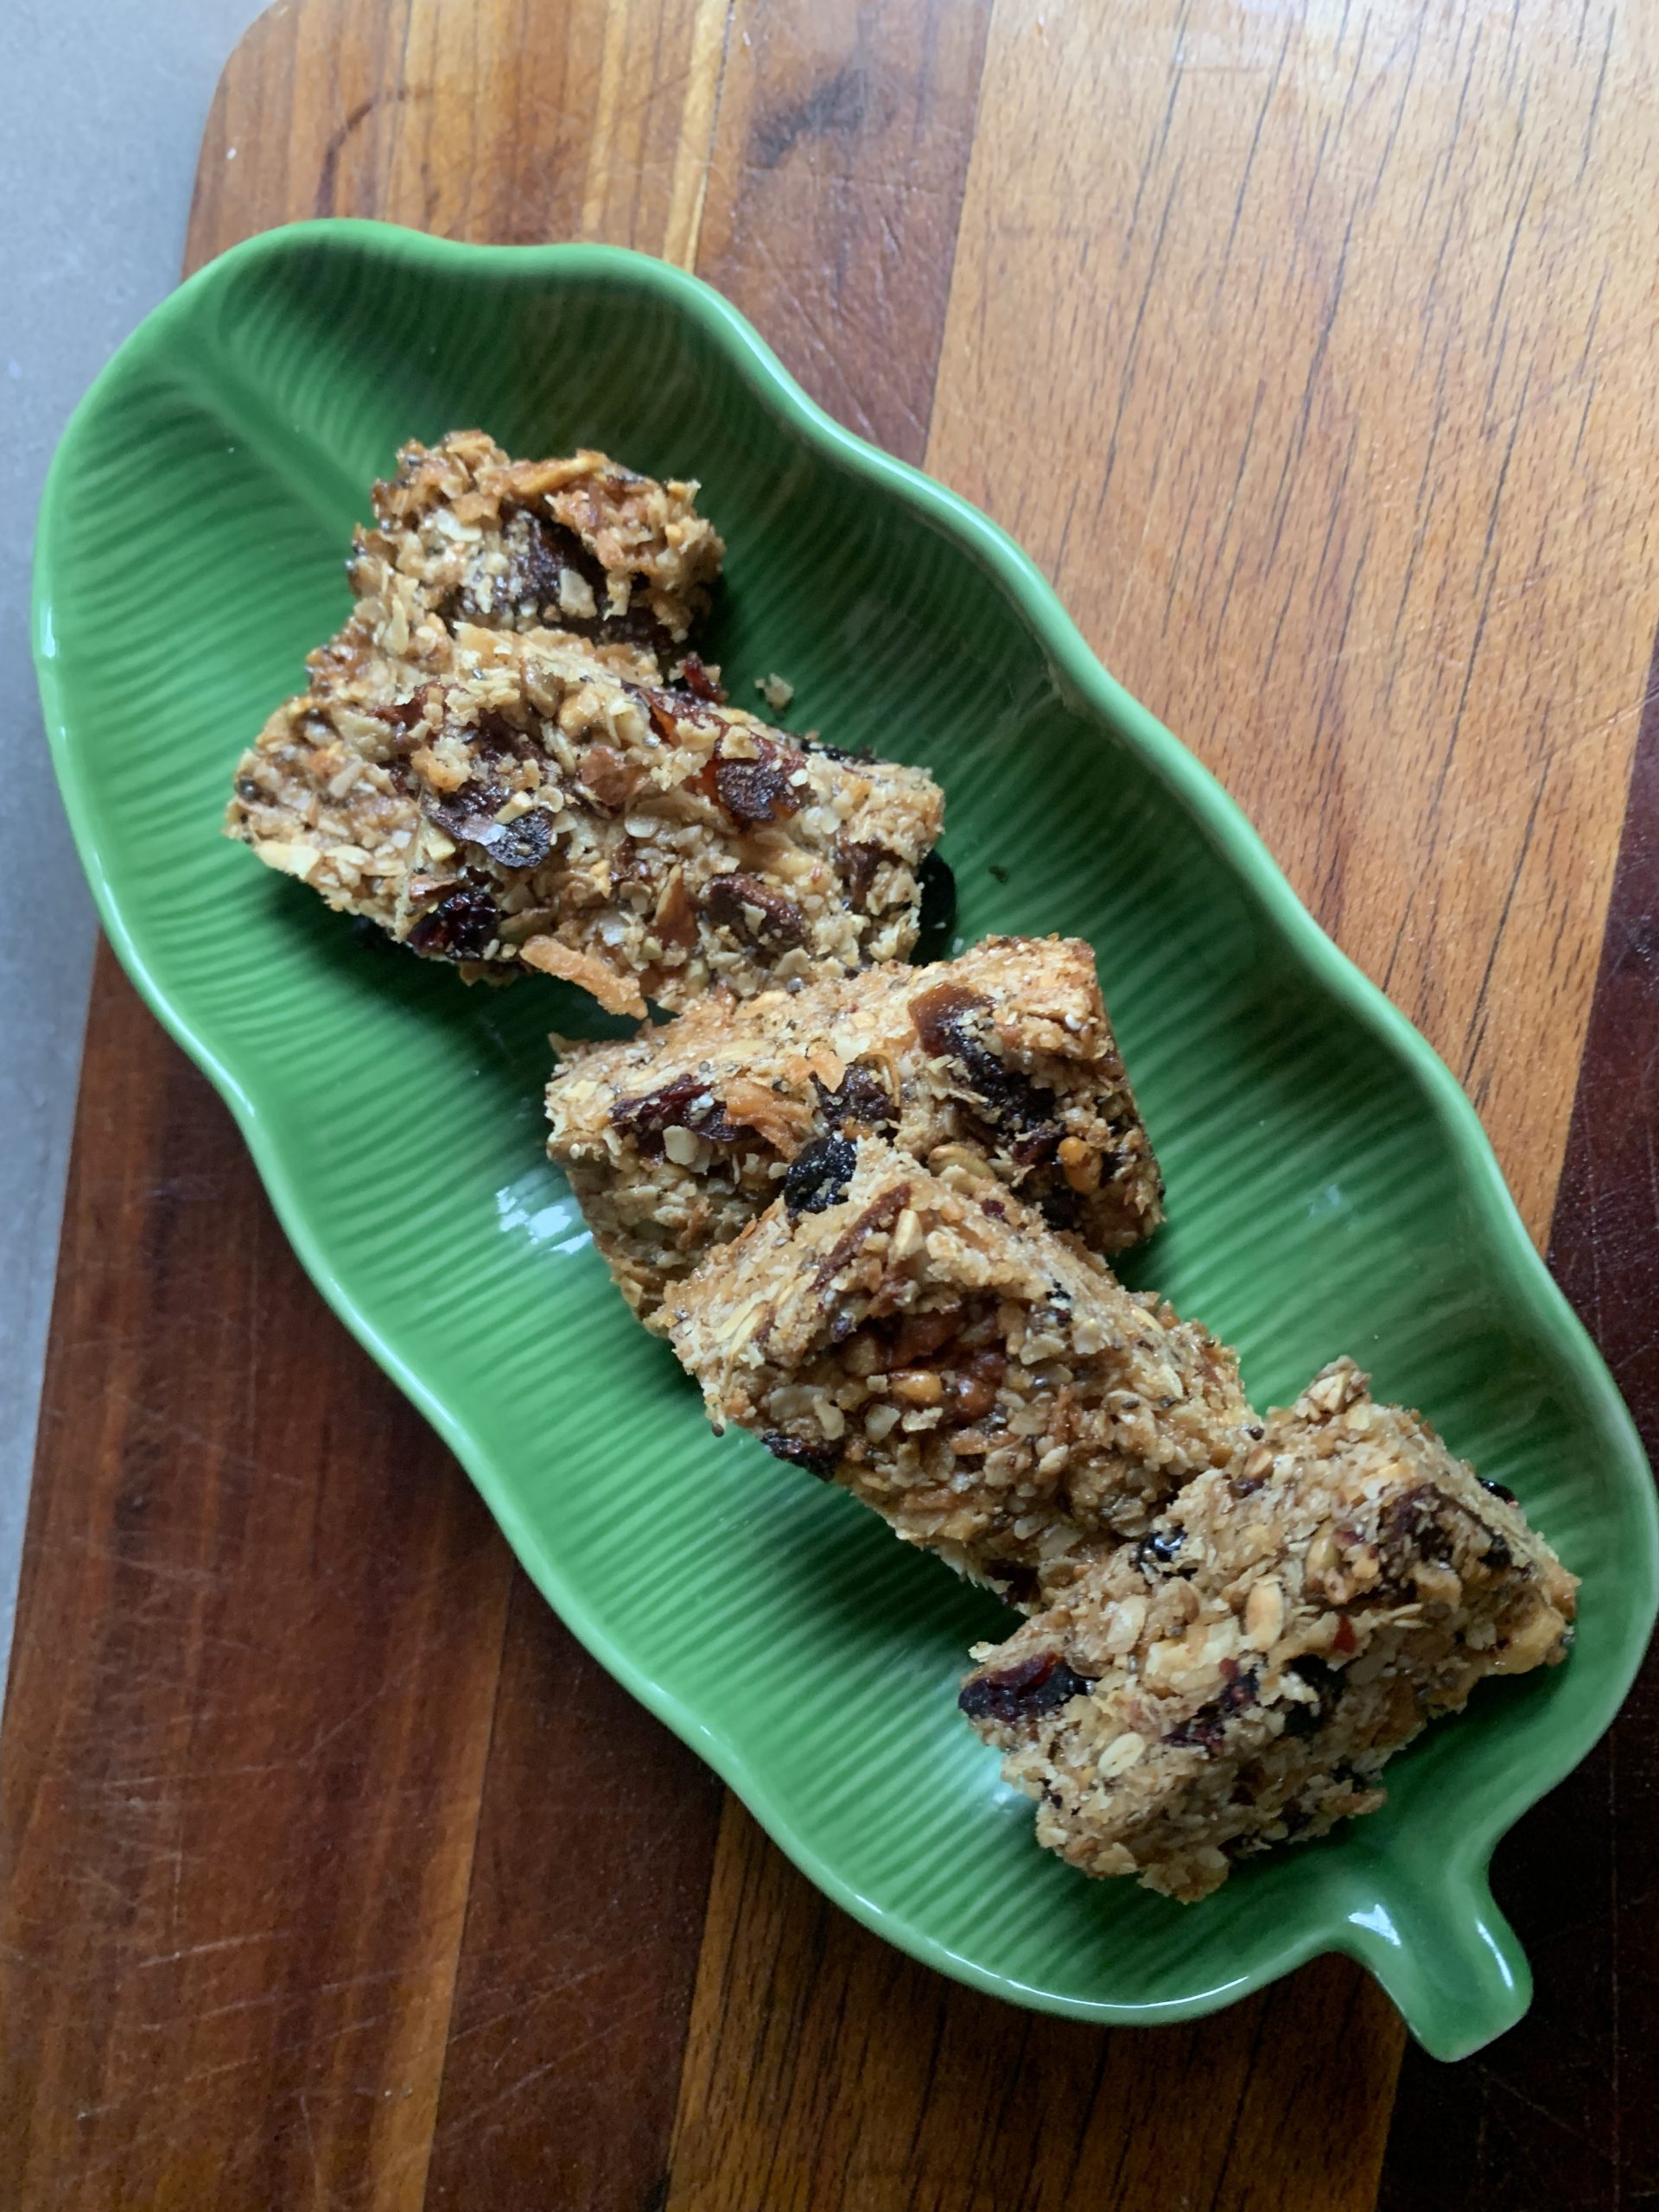
Make It Your Own Way
- Butter can be substituted with dairy free alternatives, it will change the flavour profile but will still work. Careful swapping with oils as they don’t solidify at room temperature and bars will be crumbly and not hold together as well. I’m a butter girl, but I get its not for everyone for a multitude of reasons.
- Nuts/seed/dried fruit options are endless in terms of what to add and combine. I prefer to toast the nuts and seeds first, however adding them raw is ok too.
- Add chocolate, white, dark or milk, for a bit of indulgence or dip partially in melted chocolate or drizzle with chocolate after baking
- You can adjust sweetness without ruining the base, reduce or swap out the sugar for alternatives, try maple syrup instead of honey